Quick Start 5 min
This guide helps you complete ChatAI Plugin installation and basic configuration in 5 minutes.
Requirements
Prerequisites
Make sure your environment meets the following requirements, otherwise installation may fail.
| Dependency | Version | Description | Check Command |
|---|---|---|---|
| Node.js | ≥ 18.0 | LTS version recommended | node -v |
| pnpm | ≥ 8.0 | Package manager | pnpm -v |
| Yunzai-Bot | V3 | Miao-Yunzai or TRSS-Yunzai | - |
Installation Steps
Step 1: Clone Plugin
Run in Yunzai-Bot root directory:
git clone https://github.com/XxxXTeam/chatai-plugin.git ./plugins/chatai-pluginClone via SSH (optional)
git clone git@github.com:XxxXTeam/chatai-plugin.git ./plugins/chatai-pluginStep 2: Install Dependencies
pnpm installNote
Must be run in Yunzai root directory, not the plugin directory!
Step 3: Build Native Module
The plugin uses better-sqlite3 as local database, which requires building native module:
pnpm rebuild better-sqlite3Build Tools Installation Guide
If build fails, install build tools for your OS:
# Install Visual Studio Build Tools
# Download: https://visualstudio.microsoft.com/visual-cpp-build-tools/
# Select "Desktop development with C++" during installation
npm install -g windows-build-toolssudo apt update
sudo apt install build-essential python3sudo yum groupinstall "Development Tools"
sudo yum install python3xcode-select --installStep 4: Start Service
pnpm startnode appFirst Configuration
Get Admin Panel
After successful startup, send to bot:
#ai管理面板The bot will privately send a temporary login link, click to enter the Web admin panel.
💡 Permanent Link
Send #ai管理面板 永久 to get a permanent login link (keep it safe)
Admin Panel Preview
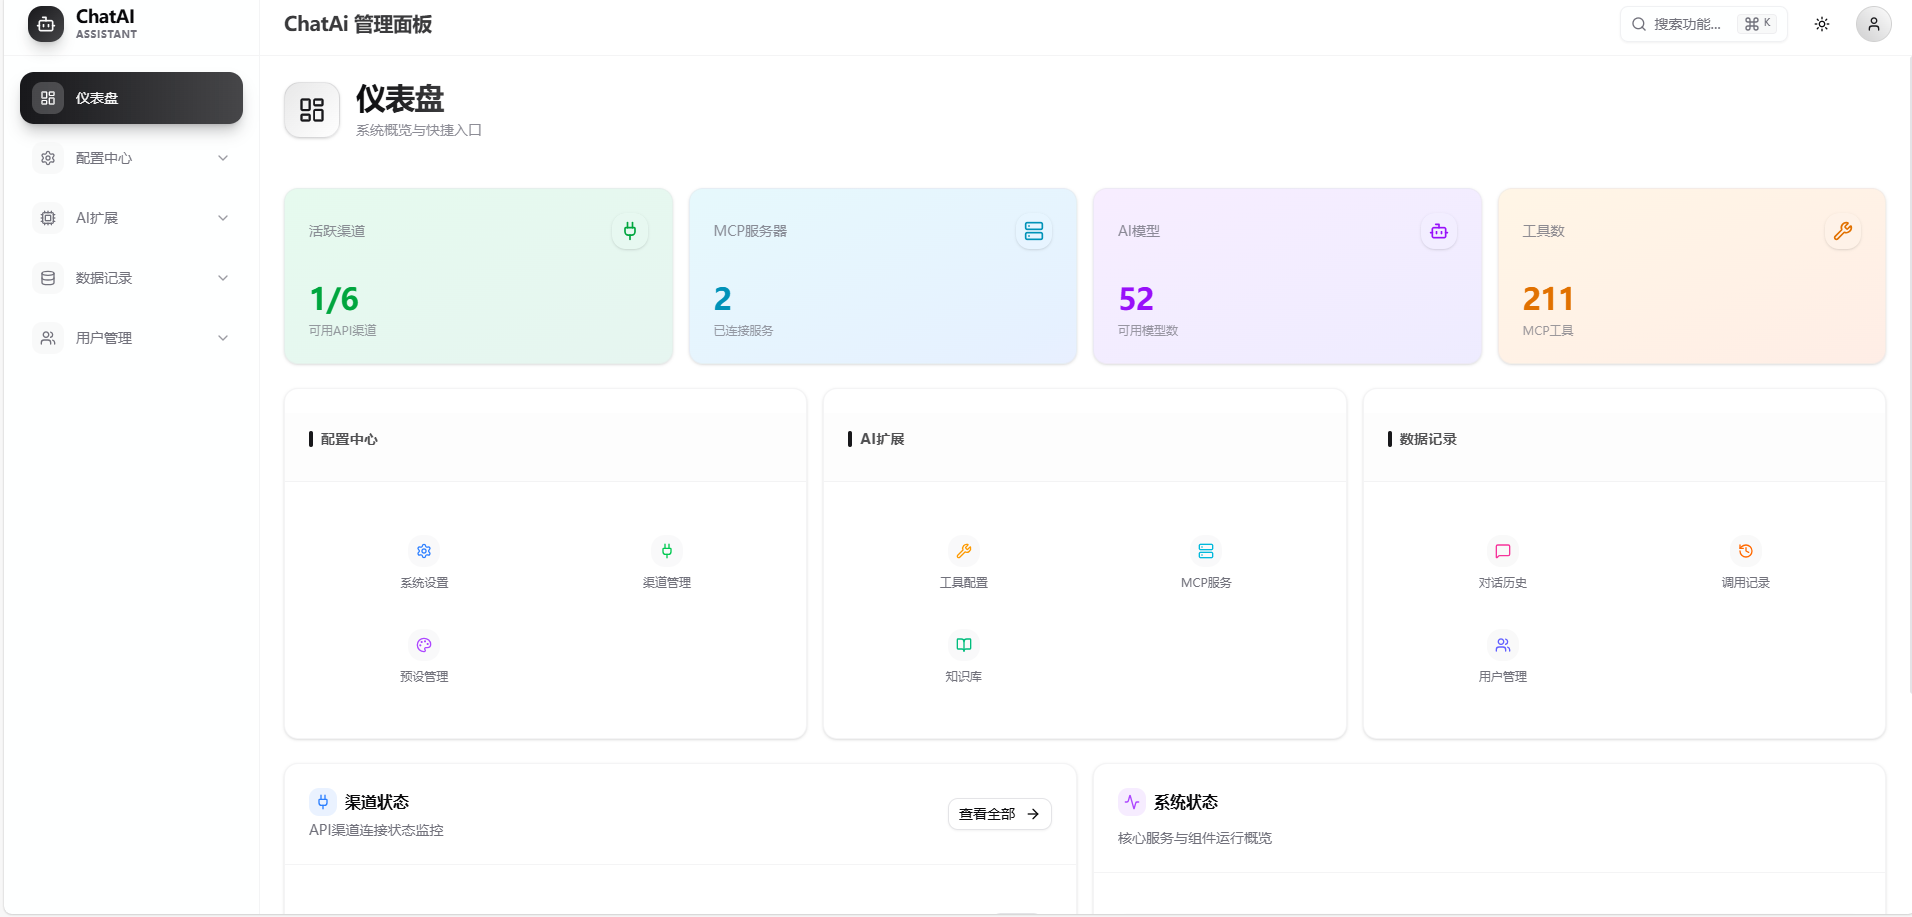
The admin panel provides visual configuration interface including:
| Module | Function | Description |
|---|---|---|
| 🏠 Dashboard | Status Overview | Real-time system status, usage stats, version info |
| 📡 Channels | API Config | Configure multiple API channels with load balancing |
| 🎭 Presets | AI Personas | Manage and switch different AI persona presets |
| 👥 Groups | Group Config | Set independent presets, triggers per group |
| 📊 Statistics | Data Analysis | Token consumption, conversation stats, tool calls |
Setup Wizard
Guided Setup
A setup wizard will automatically appear on first visit, follow the steps to complete configuration.
Step 1 - Select Channel
Choose from preset channels (e.g., OpenAI, DeepSeek) or manually configure custom channel
Step 2 - Enter API Key
Enter your API key, supports environment variable reference
${ENV_VAR}
Step 3 - Test Connection
Click test button to verify API configuration
Step 4 - Select Model
Auto-fetch available models from channel, select default model
Step 5 - Select Preset
Choose AI persona preset or use default
Step 6 - Configure Trigger
Set trigger prefix (e.g.,
#chat), @trigger, etc.
🎉 Free Trial
Select OpenEL Free Channel for direct experience without API Key!
⚠️ Free channels are provided by third parties with no guarantee of availability or stability. For production use, configure your own API Key. See Channel Configuration.
Start Chatting
After configuration, use the set trigger method to chat with AI:
#chat Hello, please introduce yourself@bot What's the weather like today?Hello, please help me write some codeCommon Commands
Command Reference
All commands start with configured prefix (default #)
| Command | Description | Permission |
|---|---|---|
#ai管理面板 | Get Web admin panel link | Master |
#ai管理面板 永久 | Get permanent login link | Master |
#结束对话 | End conversation and clear context | Everyone |
#清除记忆 | Clear personal memory data | Everyone |
#ai状态 | View plugin status | Everyone |
#ai调试开启 | Enable debug mode | Master |
#mcp状态 | View MCP tool status | Master |
More Commands
#ai重载配置     - Reload configuration
#工具日志       - View tool call logs
#ai帮助         - Show help info